How to make an origami butterfly
Make these brilliant origami butterflies following our simple step-by-step origami tutorial!

Published:
This origami butterfly follows the traditional Japanese design, and it’s a nice easy project to get started with. The delicate shape of this origami butterfly is ideal for making hanging decorations, perfect for birthday parties or celebrations! If you prefer, the relatively flat shape of this origami butterfly makes it ideal for use as a feature point on cards.

Like this origami butterfly? Check out this project – how to make an origami fabric butterfly, or how about learning how to make a traditional origami crane or an origami swan? We love these (super easy) origami cats and this adorable origami owl!
If you fancy boosting your stash, check out our pick of the best origami paper, or how about trying out these brilliant origami Christmas decorations? If you’re on the hunt for more easy origami projects, we have them all collated here, in our easy origami for beginners article.
We love seeing what you make, so don’t forget to share your origami projects with us on Instagram, Facebook or Twitter, too!
Buy origami paper

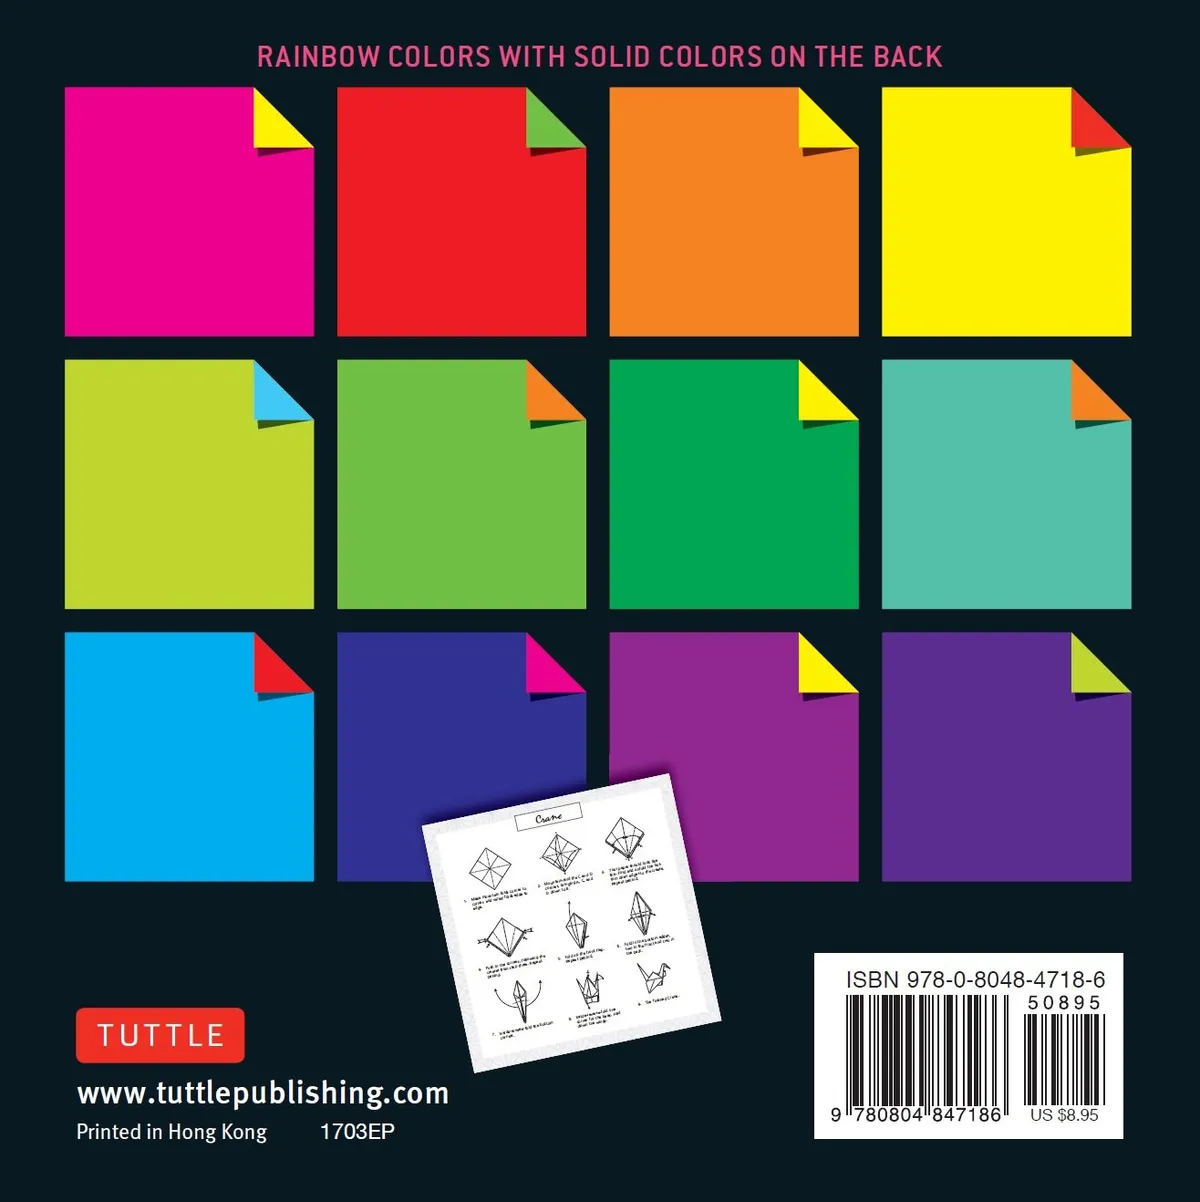
This is the origami paper we used for many of our steps photos – it’s great, because not only is it double-sided, but the sides are different colours so it really adds a little bit extra to those designs where you see both sides of the paper. Plus it comes as loose leaf, which is handy. The paper itself is thicker than traditional origami paper, but it’s nice to work with and you don’t lose any of the colours on the folds.

How to make an origami butterfly
You Will Need
- Origami paper (15cmx15cm), Double sided
Total time:
Step 1
Start with a square of paper. We’re using a 15cm x 15cm piece of origami paper but use a bigger or smaller piece if you want a bigger or smaller butterfly!
For the purpose of this tutorial, we’re using a piece of double-sided origami paper which is blue on one side and green on the other.
First, fold and unfold along both diagonals.


Step 2
Next, fold and unfold along the horizontal and vertical. This is called a book fold.


Step 3
Fold each of the corners in to meet the middle. This is called a blintz fold.


Step 4
Turn the model over.

Step 5
Blintz fold again, by folding each of the corners in to meet the middle.


Step 6
Completely unfold the model so that it becomes a flat sheet.

Step 7
Fold the sides in, to meet the middle.


Step 8
Fold the top edge down meet the middle, folding the sides outwards as you go. This is called a squash fold.

Step 9
Squash fold the bottom edge to meet the middle, mirroring the top edge you have just completed.

Step 10
Mountain fold the entire model in half.

Step 11
Fold the side down, so that what was the top edge lines up with the vertical centre line.

Step 12
Repeat on the other side.

Step 13
Give your butterfly shape by folding the sides in. Use a bone folder or a ruler to get a nice, sharp crease.


Step 14
Fold the entire model in half.

Step 15
Pinch a small triangle at the top of the butterfly. Fold this triangle inwards to hide it.


Step 16
Open the model. You can see the pinch you just made at the top.

Step 17
Turn the model over to reveal your completed butterfly!


More origami paper
1. Handmade origami paper

Okay – so you’ve practised a model, and now you want to make a special one? Perhaps as a gift, or to make a topper on the front of a card? Well, this handmade paper is perfect for when you want to create something a little more special.
2. Clairefontaine origami paper

This pad contains 60 sheets in total with 30 different designs. It’s made from 70gsm paper and is plain white on the reverse. The designs are contemporary and vibrant, we love the parrot patterned paper!
3. Metallic origami paper

This metallic collection of origami papers features 10 different colours, with a pearly, iridescent finish. The plastic coating means that it’s harder to get crisper folds with these papers, but for simple designs this paper is great.
4. Chiyogami origami paper

Chiyogami is a specific word developed to describe the patterns and designs applied to paper in Japan’s Edo period, between 1603 and 1867. This speciality origami paper is thinner than regular paper, to enable greater manipulation in terms of the folds, this is the paper we used for our origami crane! You get a whopping 180 sheets with 45 beautiful traditional designs, so plenty of spare paper if you mess up. Check out the plethora of 5-star reviews on Amazon for this product!
5. Origami butterfly book

How about this for a project book – this kit has 30 full-colour butterfly designs to fold, including instructions and fun facts about each species, from the vivid green cairns birdwing to the striped tiger swallowtail and the blood-red glider. The patterns are perforated for easy removal and offer accurate portrayals of the variations in each insect’s top and bottom sides (we love scientific accuracy).

We hope you’ve enjoyed this tutorial, how to make an origami butterfly. We have plenty of other origami projects here on Gathered, too – like this traditional origami crane, this origami owl or these adorable (and super easy) origami cats.