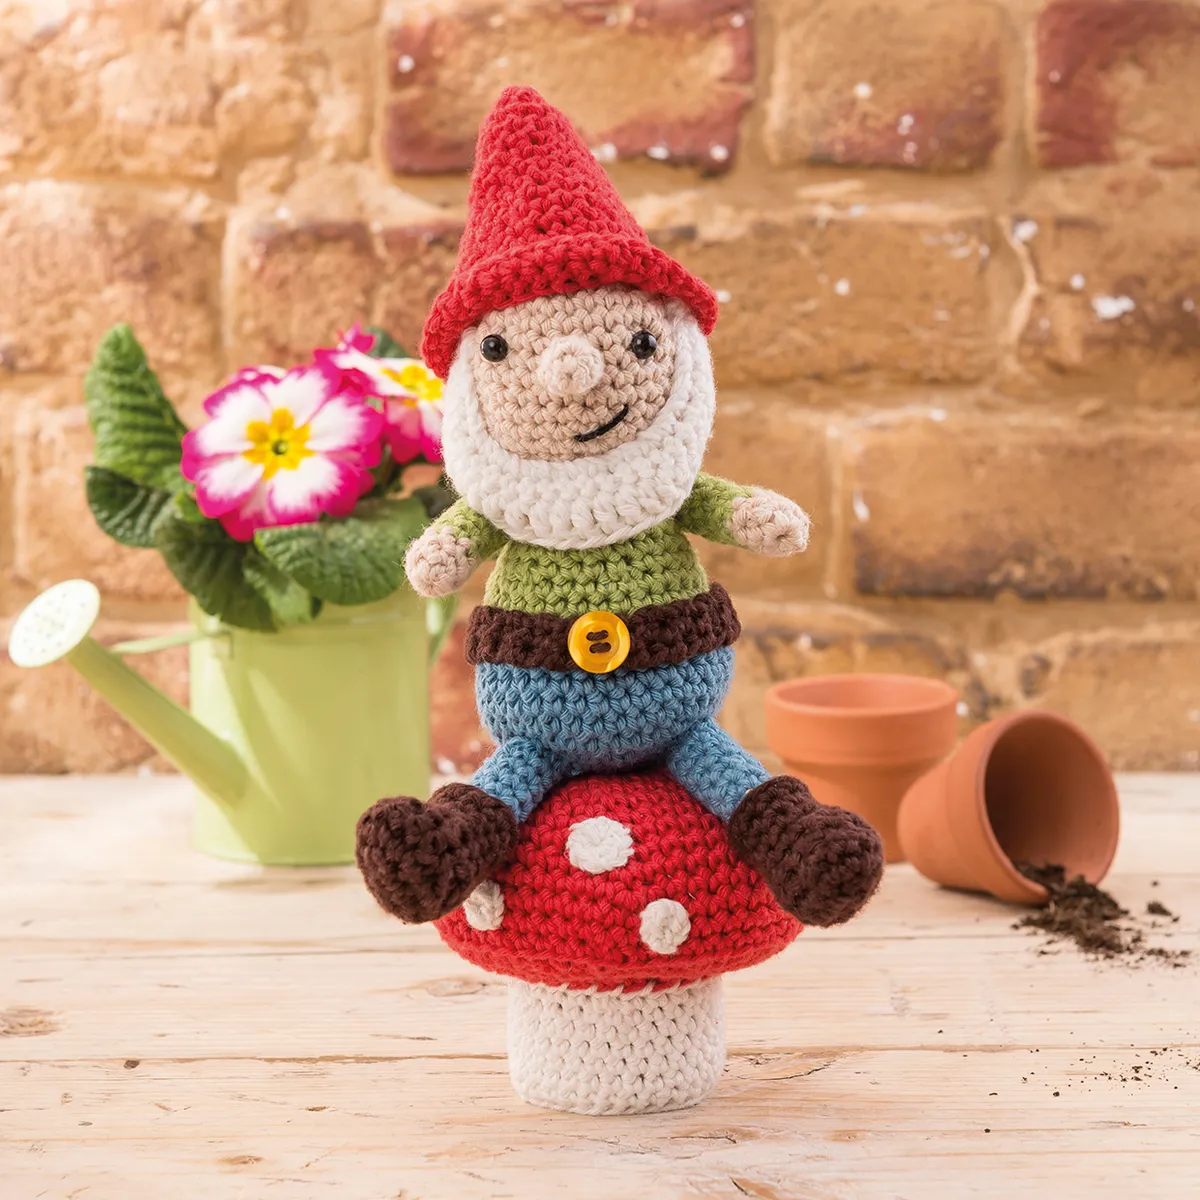
Decorative gnomes aren’t just for the garden – now you can enjoy them indoors too, by hooking this sweet amigurumi version! Perched atop a little crochet mushroom toadstool, there are plenty of things to love about this cheery crochet gnome, from his cute little boots to his bushy white beard. If you can bear to part with him, he’ll make a thoughtful gift for a green-fingered friend, or just pop him on your windowsill so he can keep a watchful eye on your garden!
You will need
Rico Design Ricorumi DK (100% cotton, 25g/57.5m), 1 ball each in:
- Yarn A - Beige (054)
- Yarn B - Off-white (002)
- Yarn C - Red (028)
- Yarn D - Blue (034)
- Yarn E - Green (047)
- Yarn F - Brown (057)
Optional:
Cardboard toilet roll tube (and an additional scrap of cardboard)
Stones or coins to weight the gnome
Measurements
Crochet Gnome: approx. 20cm (8in) high
Crochet Mushroom: approx. 7.5cm (2.5in) high and 8cm (3.25in) wide
Abbreviations
FLO – Front loop only
BLO – Back loop only
You can find our tutorial on how to crochet in the font and back loops here.
You can find a full list of all abbreviations we use in our abbreviations and conversions guide. The free gnome crochet pattern and mushroom crochet pattern are written in UK terminology but you can easily convert it to US terms using the guide.
Notes
Unless otherwise stated, both the crochet gnome pattern and mushroom crochet pattern are worked using the amigurumi method. Work in a continuous spiral without closing off each round with a slip stitch. You may find it helpful to place a marker in the first st of each round and move it up as you work.
Free crochet gnome pattern
Head
With Yarn A, make a crochet magic loop.
Round 1 Ch1 (does not count as st), 6dc into loop. (6dc)
Round 2 2dc in each st around. (12dc)
Round 3 (Dc, 2dc in next st) 6 times. (18dc)
Round 4 (2dc, 2dc in next st) 6 times. (24dc)
Round 5 (3dc, 2dc in next st) 6 times. (30dc)
Rounds 6-13 Dc in each st around
Round 14 (3dc, dc2tog) 6 times. (24dc)
Round 15 (2dc, dc2tog) 6 times. (18dc)
Round 16 (Dc, dc2tog) 6 times. (12dc)
Fasten off and weave in ends.
Nose
With Yarn A, make a crochet magic loop.
Round 1 Ch1 (does not count as st), 4dc into loop. (4dc)
Round 2 2dc in each st around. (8dc)
Round 3 Dc2tog in each st around. (4dc)
Fasten off leaving a long tail.
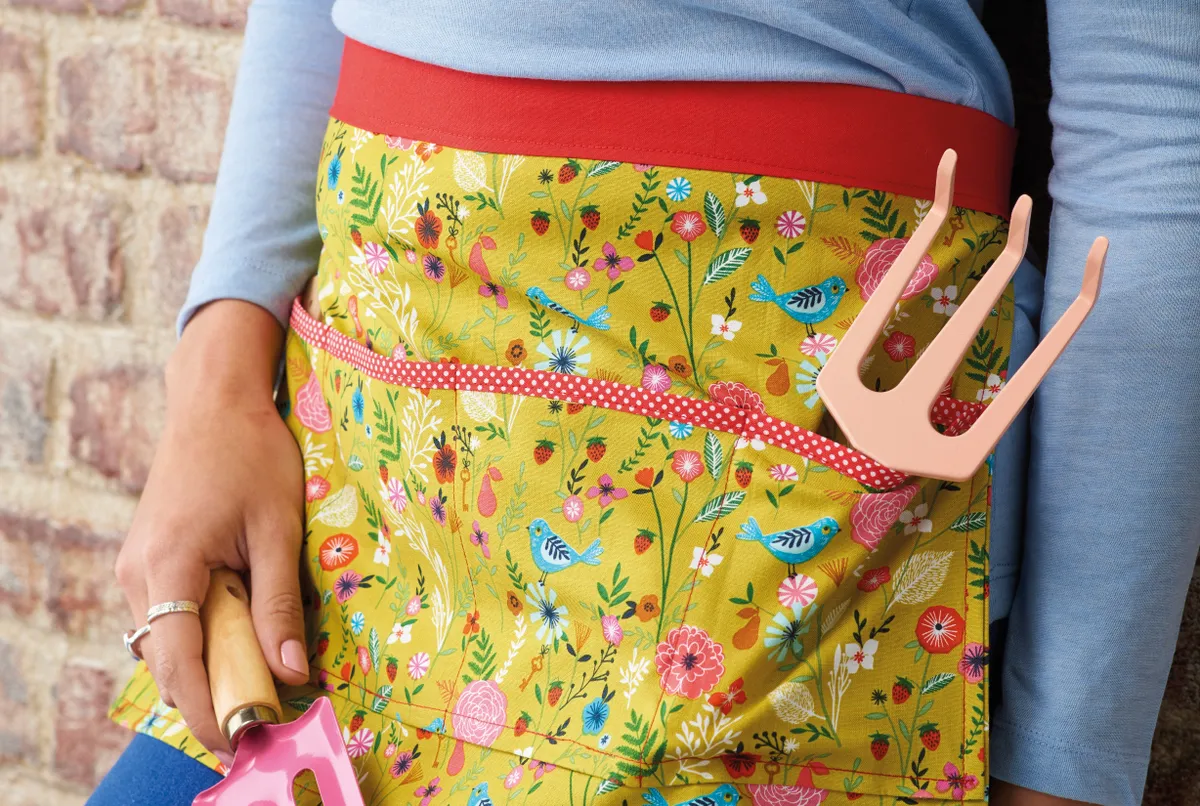
If you've got the gardening bug and want toms emore crafty projects to help you make the most of your outside time, why not take a look at our pick of the top 15 free summer garden party crochet patterns, or use your sewing skills to make this sweet free gardening apron sewing pattern.
Beard
Using Yarn B, ch23.
Row 1 Dc in 2nd ch from hook and in next ch, (dc in each of next 2 ch, 2dc in next ch) twice, dc in next 6ch, (2dc in next ch, dc in each of next 2ch) twice, dc in last 2 ch, turn. (26dc)
Row 2 Ch1 (does not count as st), dc in next 6 sts, 2dc in next ch, dc in next 12sts, 2dc in next ch, dc in next 6 sts, turn. (28dc)
Row 3 Ch1 (does not count as st), dc in next 8 sts, htr in next 2 sts, tr in next 8 sts, htr in next 2 sts, dc in next 8 sts. (28sts)
Fasten off, leaving a long tail.
Hat
With Yarn C, make a crochet magic loop.
Round 1 Ch1 (does not count as st), 6dc into loop. (6dc)
Round 2 2dc in each st around. (12dc)
Rounds 3-4 Dc in each st around.
Round 5 (Dc, 2dc in next st) 6 times. (18dc)
Rounds 6-7 Dc in each st around.
Round 8 (2dc, 2dc in next st) 6 times. (24dc)
Rounds 9-10 Dc in each st around.
Round 11 (3dc, 2dc in next st) 6 times. (30dc)
Rounds 12-14 Dc in each st around.
Round 15 FLO ss in next st, ch1 (4dc, 2dc in next st) 6 times, join into first dc with ss. (36dc)
Round 16 Ch1 (does not count as st), dc in each st around, join into first dc with ss.
Fasten off and weave in ends.
Body
With Yarn D, make a crochet magic loop.
Round 1 Ch1 (does not count as st), 6dc into loop. (6dc)
Round 2 2dc in each st around. (12dc)
Round 3 (Dc, 2dc in next st) 6 times. (18dc)
Round 4 (2dc, 2dc in next st) 6 times. (24dc)
Round 5 (3dc, 2dc in next st) 6 times. (30dc)
Round 6 (4dc, 2dc in next st) 6 times. (36dc)
Rounds 7-10 Dc in each st around.
Round 11 (4dc, dc2tog) 6 times. (30dc)
Change to Yarn E.
Rounds 12-14 Dc in each st around.
Round 15 (3dc, dc2tog) 6 times. (24dc)
Rounds 16-17 Dc in each st around.
Round 18 (2dc, dc2tog) 6 times. (18dc)
Round 19 Dc in each st around.
Round 20 (Dc, dc2tog) 6 times. (12dc)
Round 21 Dc in each st around.
Fasten off, leaving a long tail.
Arms (make 2)
With Yarn A, make a crochet magic loop.
Round 1 Ch1 (does not count as st), 6dc into loop. (6dc)
Round 2 (Dc in next 2sts, 2dc in next st) twice. (8dc)
Round 3 Dc in each st around.
Change to Yarn E.
Rounds 4-10 Dc in each st around.
Fasten off, leaving a long tail.
Legs (make 2)
Make as for arms, but change to Yarn D after Round 3.
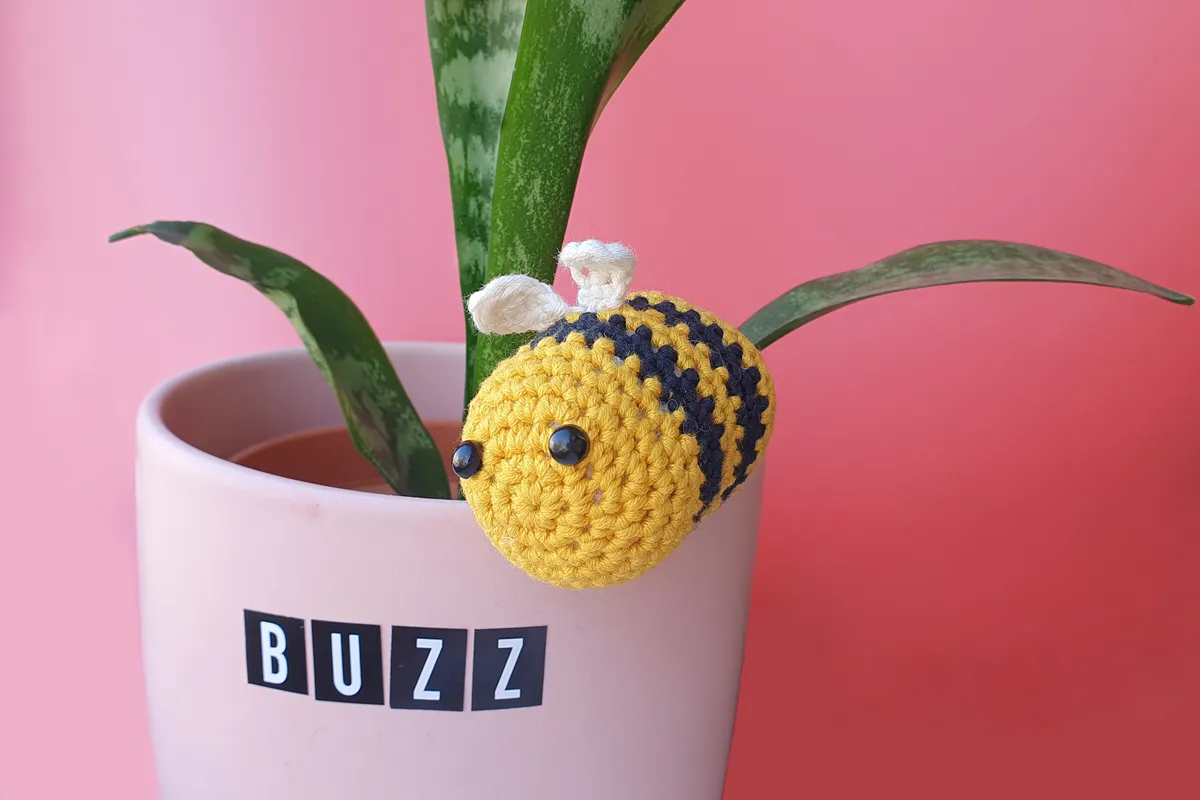
Our sweet garden gnome loves sitting on his crochet mushroom and watching the world go by in the garden. And occasionally his friend Bob the Bee pops along to say hi - if you fancy hooking up a bee companion for your gnome check out our free crochet bee pattern.
Boots (make 2)
Using Yarn F, ch4.
Round 1 Dc in 2nd ch from hook, dc in next ch, 4dc in last ch, (working in underside of chains just worked) dc in next ch, 3dc in next ch, ss to first dc to join, ss in next st. (10dc)
Round 2 Ch1 (does not count as st), dc in same st as join, 2dc in next 4sts, dc, 2dc in next 4 sts, ss to join. (18dc)
Round 3 Ch1, dc in same st as join, skip 1dc, htr in next 6 sts, skip 1dc, dc, dc2tog, dc in next 4 sts, dc2tog, ss to join. (14sts)
Round 4 Ch1, dc in same st as join, skip 1htr, htr in next 4 sts, skip 1htr, dc in next 7 sts, ss to join. (12sts)
Round 5 Ch1, dc in same st as join, skip 1htr, htr in next 2 sts, skip 1htr, dc in next 7 sts, ss to join. (10sts)
Rounds 6-8 Ch1, dc in each st around, ss to join.
Fasten off and weave in ends.
Belt
Using Yarn F, ch3.
Row 1 Dc in 2nd ch from hook, dc in next ch, turn.
Rows 2-38 Ch1 (does not count as st), dc in each st along, turn.
Ss together each st of row 38 with unworked loops of starting chains to form a ring.
Fasten off, leaving a long tail.

Free mushroom crochet pattern
Cap
With Yarn C, make a crochet magic loop.
Round 1 Ch1 (does not count as st), 6dc into loop. (6dc)
Round 2 2dc in each st around. (12dc)
Round 3 (Dc, 2dc in next st) 6 times. (18dc)
Round 4 (2dc, 2dc in next st) 6 times. (24dc)
Round 5 (3dc, 2dc in next st) 6 times. (30dc)
Round 6 (4dc, 2dc in next st) 6 times. (36dc)
Round 7 (5dc, 2dc in next st) 6 times. (42dc)
Round 8 (6dc, 2dc in next st) 6 times. (48dc)
Round 9 (7dc, 2dc in next st) 6 times. (54dc)
Round 10 (8dc, 2dc in next st) 6 times. (60dc)
Rounds 11-12 Dc in each st around.
Round 13 (8dc, dc2tog) 6 times. (54dc)
Round 14 BLO (7dc, dc2tog) 6 times. (48dc)
Round 15 (6dc, dc2tog) 6 times. (42dc)
Round 16 (5dc, dc2tog) 6 times. (36dc)
Round 17 (4dc, dc2tog) 6 times. (30dc)
Round 18 (3dc, dc2tog) 6 times. (24dc)
Fasten off and weave in ends.
If you're enjoying making this mushroom crochet pattern and fancy some more nature inspired crochet projevcts, then you should definitely check out our pick of the top 50 crochet flower patterns, and then why not hook up our free crochet flower bunting pattern too!
Base
With Yarn B, make a crochet magic loop.
Round 1 Ch1 (does not count as st), 6dc into loop. (6dc)
Round 2 2dc in each st around. (12dc)
Round 3 (Dc, 2dc in next st) 6 times. (18dc)
Round 4 (2dc, 2dc in next st) 6 times. (24dc)
Round 5 (3dc, 2dc in next st) 6 times. (30dc)
Round 6 BLO dc in each st around.
Rounds 7-11 Dc in each st around.
Round 12 (3dc, dc2tog) 6 times. (24dc)
Fasten off, leaving a long tail.
Large spots (make 3)
With Yarn B, make a magic loop.
Round 1 Ch1 (does not count as st), 6dc into loop, ss to first dc to join. (6dc)
Fasten off, leaving a long tail.
Small spots (make 6)
With Yarn B, make a crochet magic loop.
Round 1 Ch1 (does not count as st), 4dc into loop, ss to first dc to join. (4dc)
Fasten off, leaving a long tail.
To make up
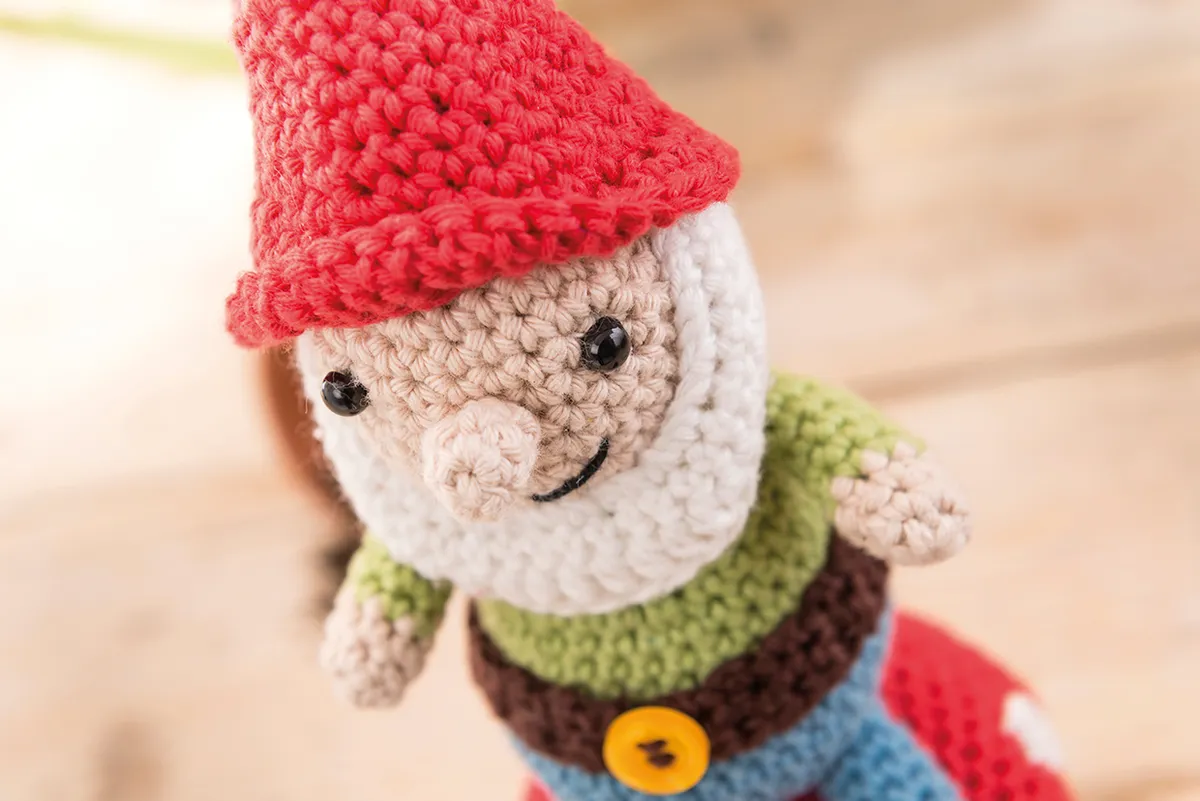
Insert safety eyes in head approx. 3cm away from each other, and lightly stuff head.
Pin beard to head so each side of beard is approx. 1cm away from each eye. Using tail of beard, sew to head going along side of beard, around inside starting edge and on remaining side. Weave in ends.
Sew nose between and slightly below eyes using tail. Using sewing needle and embroidery thread, sew a small curved mouth. Using tail from body, sew head to body.
Lightly stuff arms (or alternatively insert a doubled-up pipe cleaner and trim to length) and sew to sides of body.
Roll up a very small amount of stuffing and insert into toe end of boot. Insert leg into boot (use the handle of your crochet hook to push it in so it’s snug), insert stuffing (or pipe cleaner) into leg, then using tail sew legs to bottom of body
Sew button to belt using tails, then weave in ends. Bring belt up around legs so that it is in line with colour change on body. Sew in place.
Sew spots randomly around edge of toadstool cap with tails and weave in ends. Stuff toadstool cap and base, then using tail from base, sew the two together. Weave in any remaining ends.
Optional assembly
If you want the toadstool to be sturdier (especially if you want the gnome to be permanently sat on it), follow these steps before sewing the cap and base together.
Take a cardboard toilet roll tube and cut so that it is 4.5cm long. Using scrap cardboard, draw around circumference of tube and cut out a circle. Place the circle in the base along with the tube (it will poke out of the top a bit). Place weights into the base as well as stuffing. Make sure the tube goes into the cap enough so the final stitches of base and cap line up, then sew together. Sew gnome to toadstool if desired.
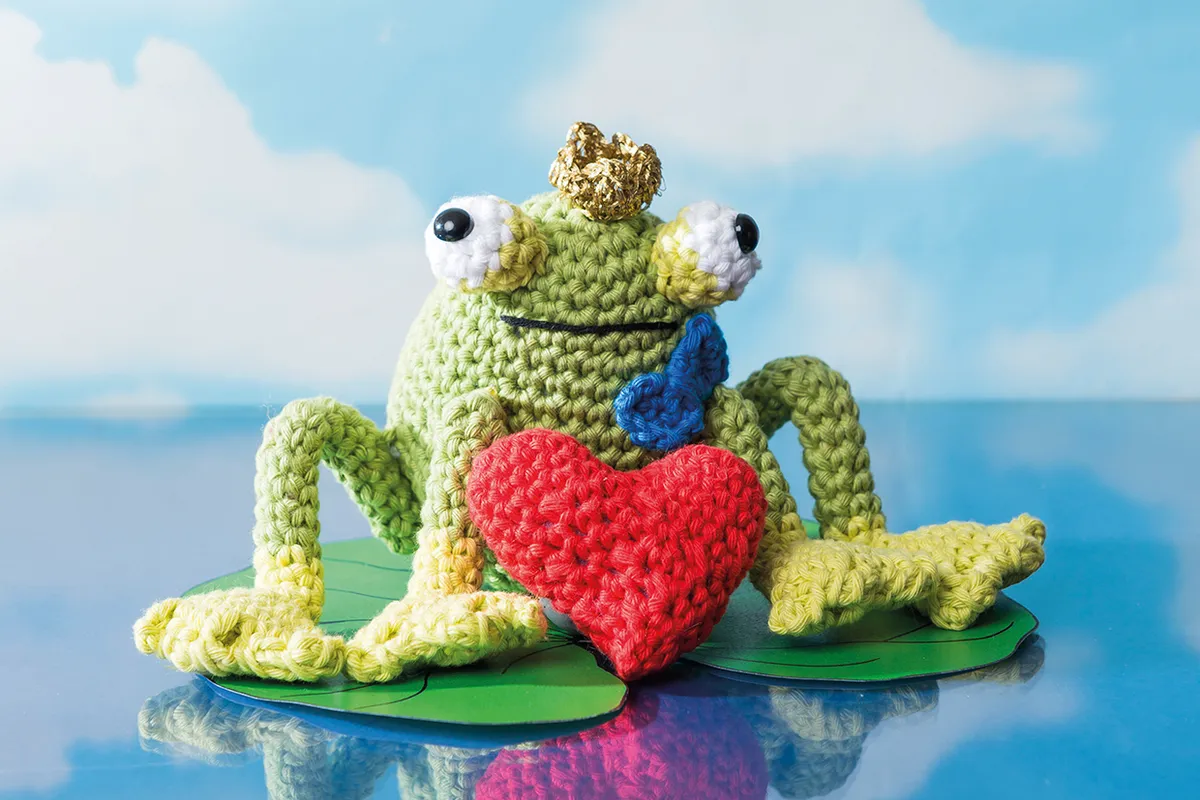
Now that you've made your crochet gnome and crochet mushroom, why not make some crochet creatures to complete your collection! You can keep it simple with our free crochet butterfly pattern, or try more amigurumi with our free crochet frog pattern.
We hope you’ve enjoyed this free crochet gnome pattern, why not make your gnome some amigurumi friends by checking out the Top 40 amigurumi crochet patterns. Don’t forget if you need any help with your crochet stitches you can always check out our crochet for beginners guide. And if you’re looking to treat yourself, check out our list of the best crochet hooks and the best crochet kits for beginners.
